Web interface
Every Power Manifold has its own web interface. Open http://pwrman.local/, or
http://<name>.local/ if you changed the device name. If .local names
don’t work on your network, use the IP address your router gave it.
The page works without Home Assistant and without internet access.
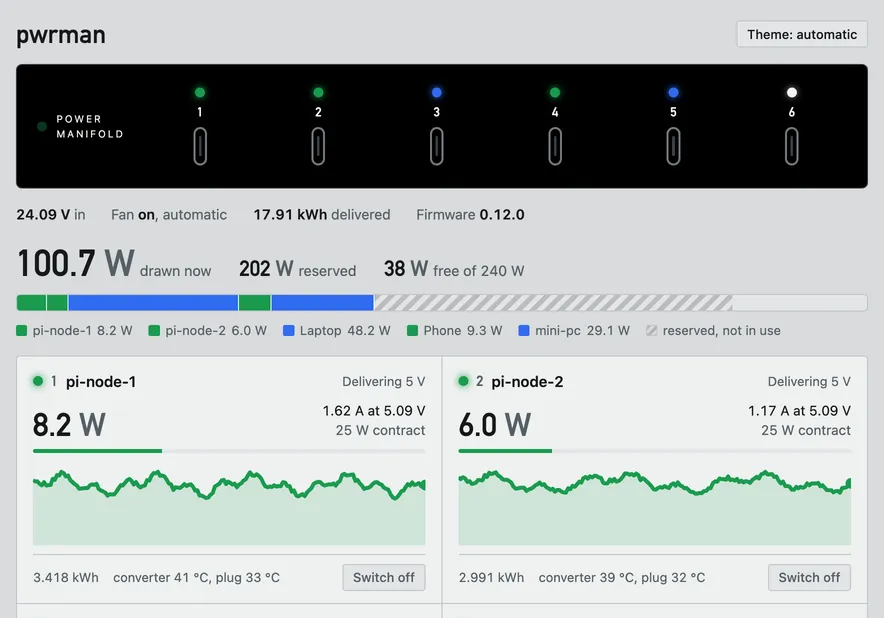
At the top
Section titled “At the top”The page refreshes every second. At the top:
- The front panel. A drawing of the chassis front shows each port’s light in the colour it has on the real chassis, blinking or breathing the same way, plus the chassis light. See Front panel and lights. Click a port to open its graphs.
- A status line: the input voltage, the fan, the energy delivered since the controller started, and the firmware version.
- A red line, only when something needs attention. It says what. See Troubleshooting.
- The power budget. How much power the chassis is drawing now, how much is set aside for the ports, and how much is free. The bar below splits the drawn power by port, in each port’s colour, and hatches the part that is set aside but not in use. See Sharing power.
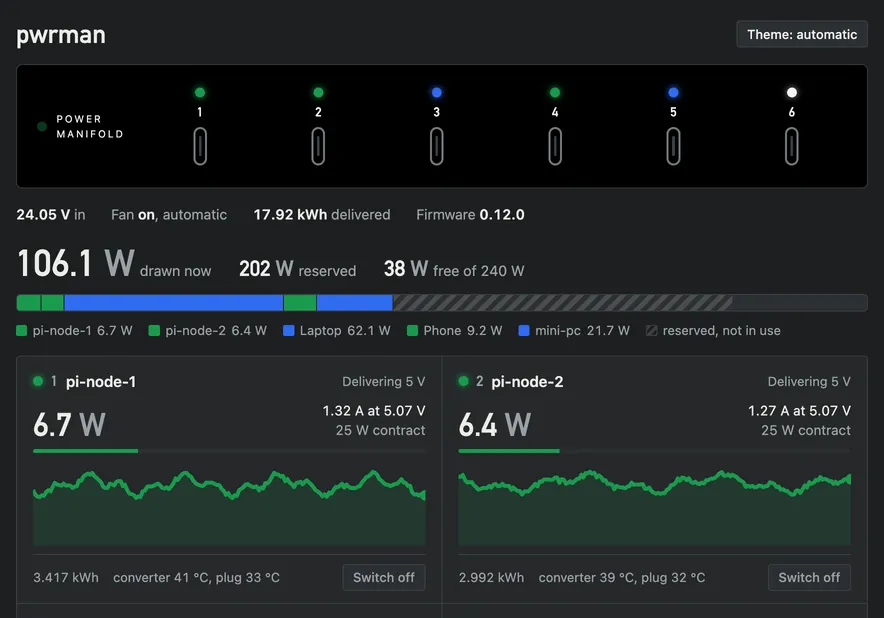
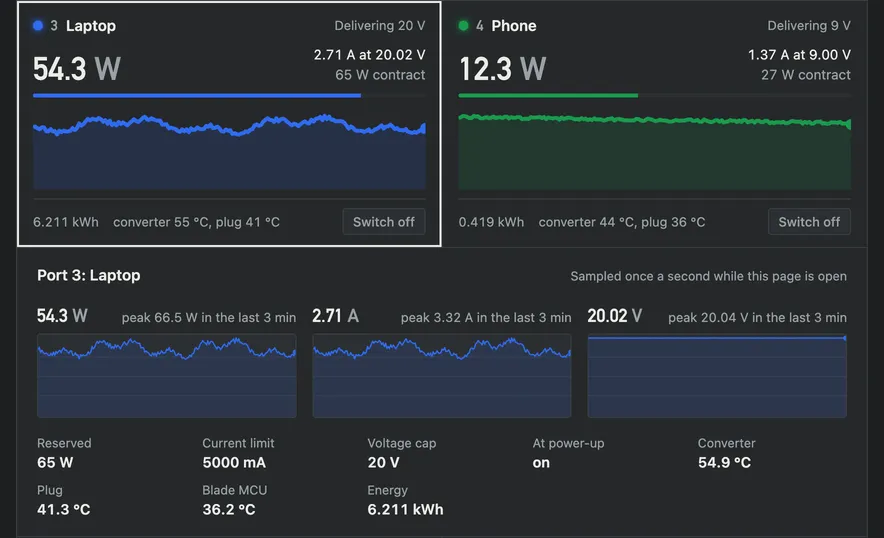
The page follows your device’s light or dark setting. The Theme button at the top right switches between automatic, light and dark. Your choice is remembered in that browser only.
The port cards
Section titled “The port cards”Each port has a card. A port that is delivering power shows:
- the power the device is drawing right now, in large type;
- the current and voltage, and the power set aside for the port (its contract), with a bar showing how much of it is in use;
- a graph of the last three minutes;
- the energy delivered since the controller last started, and the blade’s converter and plug temperatures.
A port that isn’t delivering says why: nothing plugged in, switched off, no blade in the slot, or a fault. A port with nothing plugged in still holds 15 W for the next device, and its card says so.
Click a card to see graphs of its power, current and voltage, with the port’s settings and temperatures. The graphs start when you open the page and cover the last ten minutes. Home Assistant keeps the long-term history.
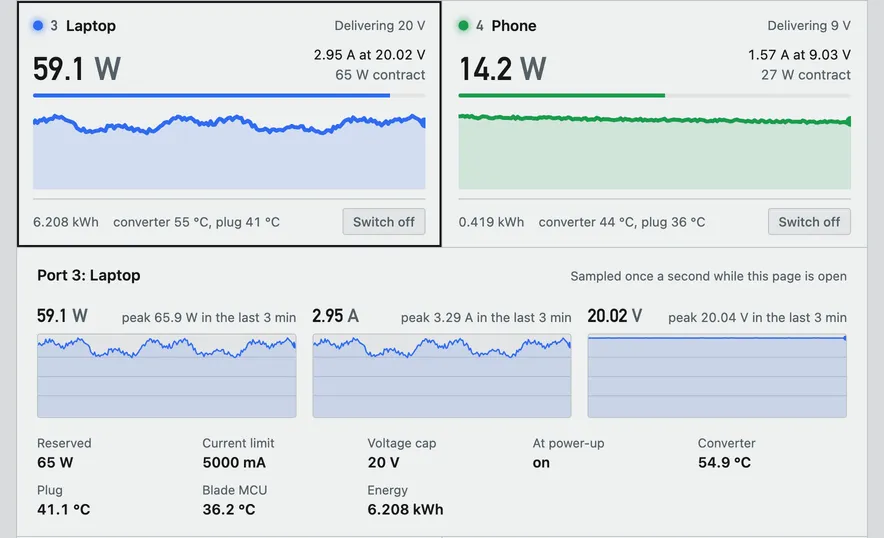
The Switch off button at the bottom of each card turns the port off, and Switch on turns it back on. Switching off asks you to confirm on the card first, because the device plugged into it loses power. Both need your API token: unlock Settings once and the buttons work for as long as the tab is open. A port you turn off stays off until you turn it on again. After a restart it follows its power-up setting.
Fault log and console log
Section titled “Fault log and console log”The Fault log tab lists the most recent faults, newest first, with the time and how much power the port was drawing at that moment. It also records each restart and why it happened. It keeps about 256 entries.
The Console tab shows the controller’s recent messages. It needs your API token because it names your networks and servers.
Settings
Section titled “Settings”Open the Settings tab below the port cards. Its first row, which shows without the token, is about the unit itself: the controller firmware and the slot it runs from, the blade firmware, how long it has been running, why it last started, and whether the lights are dimmed. Enter your API token to unlock the rest. The settings are grouped into Device, Network, MQTT, Power and fan, Status lights, and a Ports table with one row per port. Change what you need and press Save.
A new controller has no token yet. During first-time setup the tab opens by itself and asks you to choose one. Until you do, nothing can be changed from the network, and the tab says what to do if setup has closed.
Most changes apply at once. The device name, Wi-Fi, MQTT broker and addressing apply after you press Reboot. A reboot does not interrupt power to any port.
The settings and the pages that describe them:
- Device name and MQTT broker: see Home Assistant.
- Chassis budget and fan: see Sharing power.
- Port names, current limits, voltage caps, state at power-up, switch off once charged, sleep timer: see Port settings.
- Status light brightness, night window, idle dimming, UTC offset: see Front panel and lights.
- Addressing, DNS, time server, syslog, MQTT security, update source: see Network settings.
Backing up your settings
Section titled “Backing up your settings”At the bottom of Settings:
- Export downloads every setting as a JSON file. Your Wi-Fi password, MQTT password and API token are left out unless you tick the box to include them.
- Import… loads a file you exported earlier.
If the file leaves out the passwords, importing it keeps the passwords already on the controller. You can import a file exported from an older or newer firmware: settings it doesn’t recognise are skipped. If any value in the file is invalid, nothing is imported.